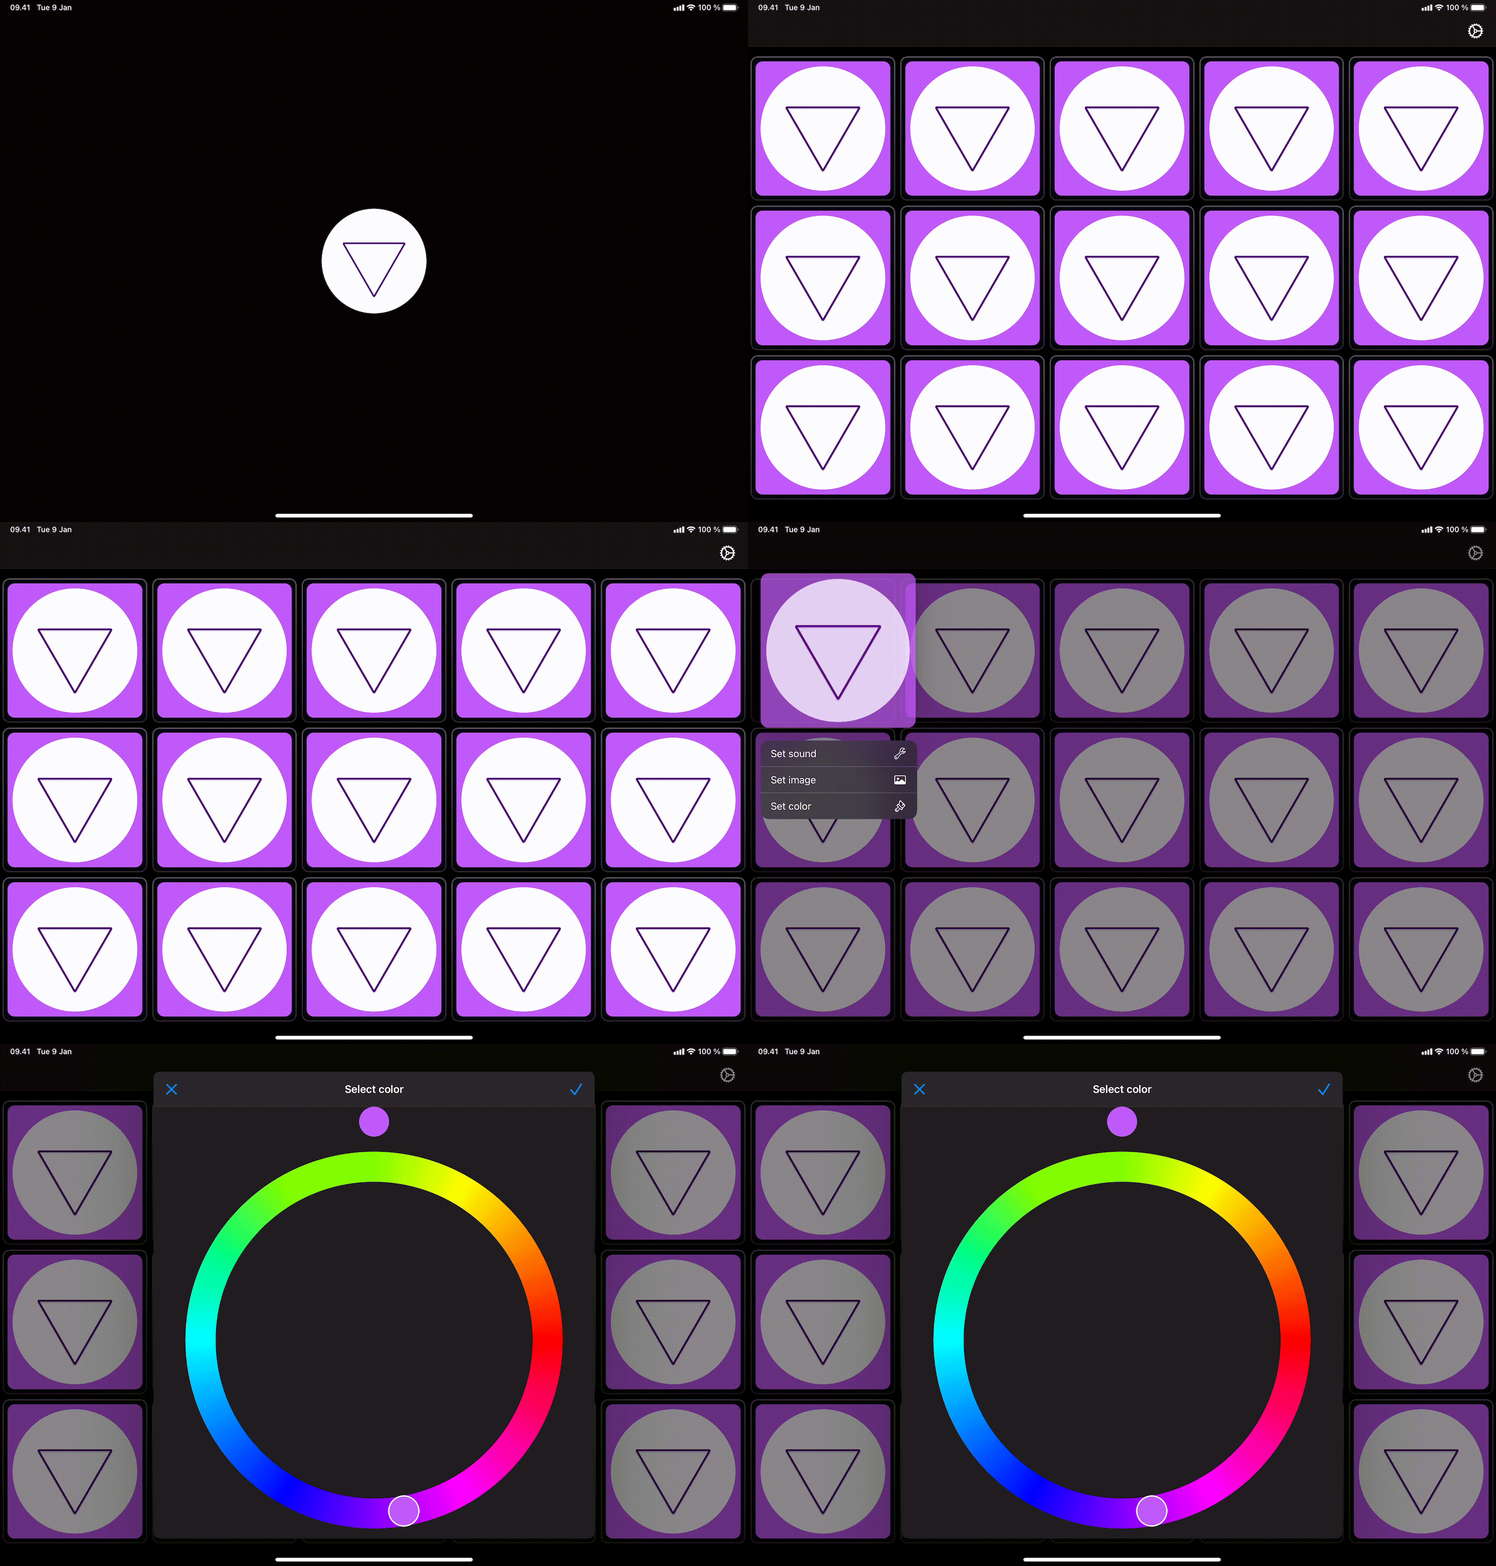
To avoid manually making screenshots for each iPhone and iPad device (including different screen sizes) for onout project, I decided to integrate fastlane snapshot early on during development. That way I already setup project for the future: easily creating dozens of localized screenshots for App Store, verifying that UI components look as expected on different screens and are accessible.
After recording test case for onout to display ColorPickerView (written in SwiftUI) on iPhone, Xcode generated the following test procedure:
let app = XCUIApplication()
app.windows.children(matching: .other)
    .element.children(matching: .other)
    .element.children(matching: .other)
    .element.children(matching: .other)
    .element.children(matching: .other)
    .element.children(matching: .other)
    .element.children(matching: .other)
    .element.children(matching: .other)
    .element.children(matching: .other)
    .element.children(matching: .button)
    .matching(identifier: "tile-button").element(boundBy: 0).press(forDuration: 1.6)
app.collectionViews.buttons["Set color"].tap()
Seems pretty straightforward, running the test case on iPhone yields expected flow:

Unfortunately, running the same test case on iPad fails. Specifically, on line:
.matching(identifier: "tile-button").element(boundBy: 0).press(forDuration: 1.6);
With an error message:
Failed to get matching snapshot: No matches found for Children matching type Button from input {( Other )}
Which means the last .element.children(matching: .other) does not contain any button element with identifier tile-button. Let’s try to generate test case on iPad instead and see if there is any difference. The following was generated while recording the same procedure using iPad:
let app = XCUIApplication()
app.windows.children(matching: .other)
    .element.children(matching: .other)
    .element.children(matching: .other)
    .element.children(matching: .other)
    .element.children(matching: .other)
    .element.children(matching: .other)
    .element.children(matching: .other)
    .element.children(matching: .other)
    .element.children(matching: .other)
    .element.children(matching: .other)
    .element.children(matching: .button)
    .matching(identifier: "tile-button").element(boundBy: 0).press(forDuration: 2.2)
app.collectionViews.buttons["Set color"].tap()
Beside having different forDuration value it is nearly identical and running the test case on iPad works flawlessly, but running on iPhone it fails again with the same error message. Comparing both code snippets it becomes clear that the amount of .element.children(matching: .other) differs. In the first snippet, there are 8 .element.children(matching: .other) element queries (depth of 8) whereas in the second snippet there are 9 .element.children(matching: .other) element queries (depth of 9). This means that UI hierarchy is generated differently on iPhone and iPad causing element depth change.
Immediate idea for a solution was to include a check to differentiate whether the test is running on iPad or iPhone by using UIDevice.current.userInterfaceIdiom. It solved the issue, however, it felt like a cheap and dirty workaround. There has to be a more versatile and elegant solution.
Since I was not fully familiar with XCUIElementQuery I started searching for more information about it and looking through documentation. After some time of reading, the answer was right in front of me all along. Looking at children(matching:) discussion notes, it becomes clear:
Use descendants(matching:) if you need to match descendants at any depth beneath the queried element, and not just direct child elements.
Great! That’s what I needed. Looking further into descendants(matching:) documentation, it appears it is possible to simplify even more: from descendants(matching: .button) to straight using buttons property. This results in the following code:
let app = XCUIApplication()
app.windows.element.buttons["tile-button"].firstMatch.press(forDuration: 2.0)
app.collectionViews.buttons["Set color"].tap()
The latter test case code snippet not only got significantly simplified, it also works on both iPhone and iPad.

Initially, my taken approach was naive. One may not expect Xcode to generate device agnostic UI test cases by simply recording interaction with the app on specific device. Xcode generated UI test case code should be used only as a baseline for writing test cases yourself. To take full advantage of UI testing the key points are:
- Learn
XCUIElementQuery- it is a really powerful and useful API to have under the belt - Understand and utilize accessibility API - UI tests are heavily based on finding/interacting with UI elements by using accessibility API, e.g.
accessibilityIdentifierto find correct elements on the screen. Moreover, it will be vital if you decide to make your app more usable for people who have an impairment of some kind which makes it more difficult to use their device.